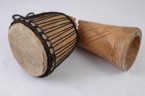
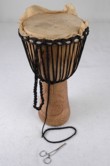
| Djembes will need
re-heading (re-skinning) from time to time, although this is an
extreme example of damage. Re-heading is time consuming but not
too difficult. Follow these step by step photographs to see how
it is done. Alternatively contact us for an estimate to do the
work for you. |
 |
 |
 |
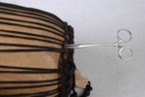 |
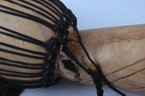
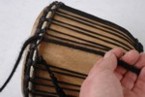
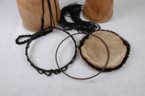
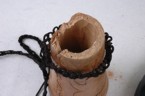
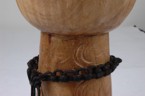
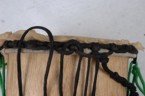
The end of the cording is located and freed with a pair of
artery forceps. It can then be "pushed through" to begin the
unravelling process, pulling the cord through loop after
loop. |
 |
 |
 |
|
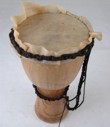
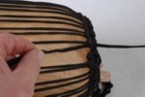
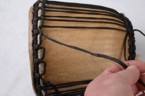
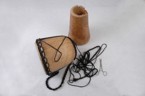
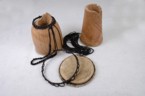
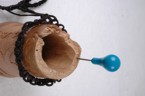
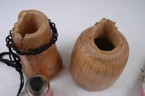
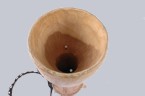
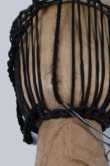
Once you have undone all the cording you will have the
wooden djembe shell, the old head and its metal ring, the
counter hoop and the tension hoop that goes around the waist
of the djembe. DO NOT unravel the cord from these latter two
hoops! |
 |
 |
 |
 |
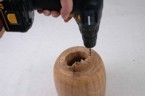 |
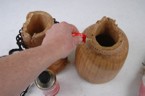
Holes are drilled through from the broken surface to the
inside of the bowl. The positions of the holes are marked on
the broken surface of the trunk of the djembe and the holes
enlarged to accept screws. |
 |
 |
 |
|
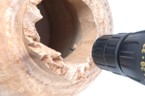
Impact adhesive is liberally applied to each broken surface,
ensure it gets into all the crevices. It is left a little
while to go tacky, the the bowl is carefully and accurately
re-united with the trunk. The bowl is then screwed to the
trunk for extra strength. |
 |
 |
 |
 |
 |
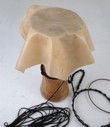
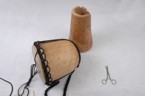
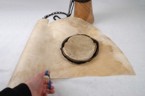
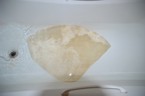
A piece of vellum (goatskin)
is cut to size using the original head as a guide. The new
piece must be four or five inches larger than the old head
all round. This new piece is then soaked in cold water for
twenty four hours. |
 |
 |
|
|
 |
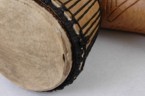
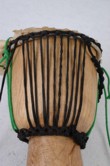
The cord is passed through successive bottom and top loops
in sequence as shown, tightening as you go. |
 |
 |
 |
|
It can be difficult to thread the cord through the loops on
the hoops in which case a pair of artery forceps will be
very helpful. Once you have threaded the cord through all
the loops, tightening as you go, start tightening some more.
Pull hard on successive cords up then down, and work round
the drum several times pulling harder each time. |
 |
 |
 |
 |
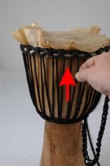
| |
|
Pull UP |
Pull DOWN |
 |
 |
 |
|
The excess skin can be
carefully trimmed from the drum and the job is complete!
The drum must be left for a few days (in your living
room preferably) to thoroughly dry out and 'settle
down.' While it is doing so you can do further
tightening sequences as above. Excess cord is stowed by
weaving it around the drum. DO NOT cut it off as you
will need it for later tightening as follows. |
|
|
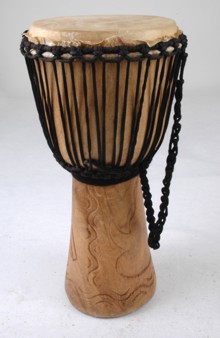
Tightening a djembe
skin or head |
|
Click images for large
view |
|
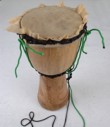
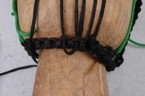
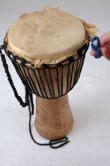
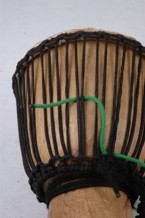
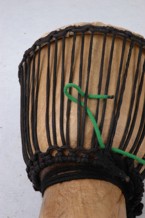
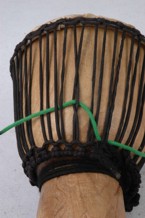
The length of cord stowed round a djembe is used for
tightening the skin (head.) In these pictures I have used a
separate green cord for clarity, however if your extra cord
has been inadvertently removed you can simply tie on another
length and use that for tightening. |
| Slide the cord
under two vertical cords from adjacent loops on the tension
hoops. |
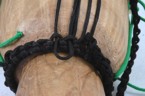
Take the cord
back over the second cord and under the first. |
Pull the cord
straight to put a twist in the two cords which tightens the
skin. |
 |
 |
 |
|
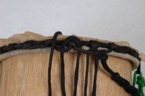
Continue for as many twists are needed to raise the skin to
the required pitch. It won't work if both vertical cords go
through the same cord loop on the tension hoop! When done,
just stow the excess cord as before. |